LOG IN
 CONTACT US
All month long, fans of spookiness, the supernatural and sweets have been waiting for this moment, and it’s finally here: Halloween 2019 is officially happening tomorrow.
However, no matter how good your intentions to plan everything were, we understand that life may have got in the way of you putting together a killer DIY Halloween costume for your little one. But now, time has run out. They’re due to be at their friend’s Halloween party in less than twenty-four hours, it’s too late to order anything from Amazon that will come in time, and there’s no way you can put getting to the shops on tomorrow’s to-do-list… Sounds stressful.
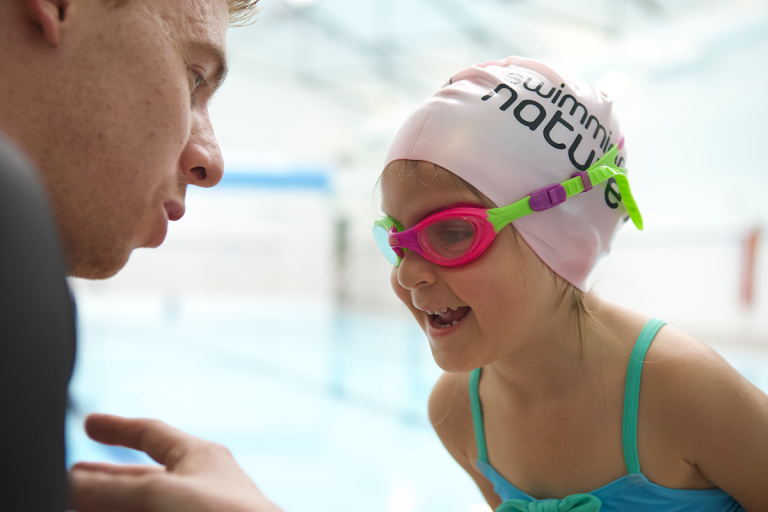
So, what’s the solution? Luckily for you, we’ve got your back with our list of fang-tastically simple Halloween costumes. Not only are our 6 different outfits mostly made from everyday items, but they can also be completed in a few easy steps. So take a deep breath, relax, and get stuck into making them with your little swimmers – we can promise you’ll be able to save the day, and have plenty of fun whilst doing so!
1) A Scuba Diver?
You will need:
- Two litre sized water bottles
- Two rolls of duct tape to cover the bottles, in grey and black
- One scuba diving mask
- A pair of black trousers
- A black fleece
- A black ski hood
- Some flippers
- A diving mask
- And finally, some yellow cord
Instructions:
Step one – Firstly, grab hold of the water bottles. Take the grey duct tape you have and wrap it around them, ensuring that they are both fully covered.
Step two – Then, using the black duct tape, cover a strip at the top of the bottles and another near the bottom, so they begin to look like a scuba diver’s tank. You should do this so that the bottles are joined together.
Step three – Take your yellow cord (or wool failing this), and glue two lengths of it to the top and bottom of each bottle. This should be done in the fashion of a backpack, so the bottles become wearable!
Step four – Dress your little one in black trousers, a ski hood, black fleece and some flippers. To finish the outfit, add the diving mask over the ski mask and get them to wrap a piece of cord around each arm so that they are wearing the tank as a rucksack. And there you have it – your own little diver, ready for some Halloween trick-or-treating! For slightly different instructions with handy photos, click here.
2) Bubble Bath?
You will need:
- A plain white top
- A pair of white trousers
- A packet of white balloons, preferably large ones
- (And optionally: a bubble wand if you’re after a little something extra!)
Instructions:
Step one – Dress your child in the white top and trousers.
Step two – Taking your time, blow up each white balloon individually. Alternatively, you can use a balloon pump to do so.
Step three – Once step two is complete, carefully pin the rubber part of each balloon (the part which is visible once you have tied them up) to your child’s top. Make sure to do this precisely, so there is no chance of the pins poking through the material. Aim to completely cover them until there is no space on the top left.
Step four – Violá, that’s it! Not only is this costume incredibly simple, but you can guarantee that your child will be the only one who looks like masses of frothy bubbles this Halloween. As an add-on, you could also consider purchasing a bubble wand so that they can cover their friends in bubbles too!
P.S. Should you wish to make this into a Halloween costume for your whole family, visit this page.
3) A Jellyfish?
You will need:
- An umbrella (a clear one is best)
- Five rolls of assorted curly ribbon, usually used for wrapping presents
- Two or three strings of LED lights, which are powered by batteries
- Some strong, clear tape
- Pieces of white and black felt
Instructions:
Step one – Firstly, begin making the tentacles. Taking some of the rolls of curly ribbon, cut it into pieces that are around twenty-five to thirty inches in length. Once you’ve completed this, attach them to the outside of your umbrella using the tape.
Step two – It’s now time to create some lighting, which is entirely optional due to it being slightly tricky. If you’re not feeling too adventurous, or you’re slightly strapped for time, then this costume works perfectly fine without it. Start by attaching the battery packs of each string of LED lights to the inside of the umbrella, using tape. Then, string the lights across the stretchers which stop the umbrella from closing, doing so evenly.
Step three – Lastly, for some extra cuteness, cut out eyes shapes from the white and black felt. Do so by cutting egg shapes from the white, and smaller circles from the black, and sticking them together! These should then be placed on the outside of the umbrella. Feel free to dress your child in any coloured clothes they like – however, the costume does speak for itself, so perhaps a black top and trousers would be best. To see what the end product should look like, click here.
4) An Octopus?
You will need:
- Four pairs of matching coloured tights, a pair of which should fit your child
- A long sleeve shirt, which matches the colour of the tights
- A beanie hat, in the same chosen colour
- A belt
- Some white and black felt
- Some cotton stuffing
Instructions:
Step one – Start by filling the tights with your cotton stuffing, doing three pairs to begin with. Ideally, stuff them to just about the crotch area of the tights. By doing so, this will give the tentacles you’re making a full look, and yet they won’t bunch when you wrap them around the belt.
Step two – After this, lay the belt flat. Begin wrapping the top part of the tights around the belt, and secure them with a safety pin so they don’t move.
Step three – In a similar fashion to the jellyfish costume, cut out two large egg-shaped ovals for the whites of the eyes, and two smaller circles for the pupils. Glue one white piece of felt and a black piece of felt together, so that they become an eye. Repeat this for the second eye. These separate pieces can then be glued or pinned to the hat.
Step four – Get your little one to put on the unstuffed pair of tights, so that they are wearing them normally. Follow this by dressing them in the coordinating long-sleeve shirt. Finally, wrap the belt with the stuffed tights around them and fasten it, whilst completing the look with the hat! If you need some pictures as a reference whilst making this, visit this link.
5) A Lobster (in a Pot)?
You will need:
- One red playsuit or jumpsuit
- A pair of red leggings or tights, should you decide to use a playsuit
- A red knitted hat
- Some red felt to make claws
- Some white felt
- A black permanent marker
- A pot for photo opportunities (but definitely not trick-or-treating unless you’re willing to carry them!)
Instructions:
Step one – Dress your child in their red playsuit, or jumpsuit, and add red tights underneath it. (NB: there is no need for tights should you choose to utilise a jumpsuit instead).
Step two – To make some lobster claws, cut out four matching pieces of red felt into claw shapes. This should take the form of two crescent shapes to make the pincers, and a longer, almost rectangular part underneath so that they can be worn as gloves. Sew these two separate pieces together, so that the claws can be put on your little one’s hands.
Step three – For the eyes, cut out oval-shaped white circles and then draw black dots on them for the pupils. Attach these eyes to the hat, and put it on your child’s head. Ta-da! All done. If you need a more visual guide, feel free to click here.
P.S. If you fancy going that bit further, you can always put your little lobster in a pot for effect, and then dress up as a chef yourself! Simply grab a white shirt, white trousers and purchase a tall chef’s hat.
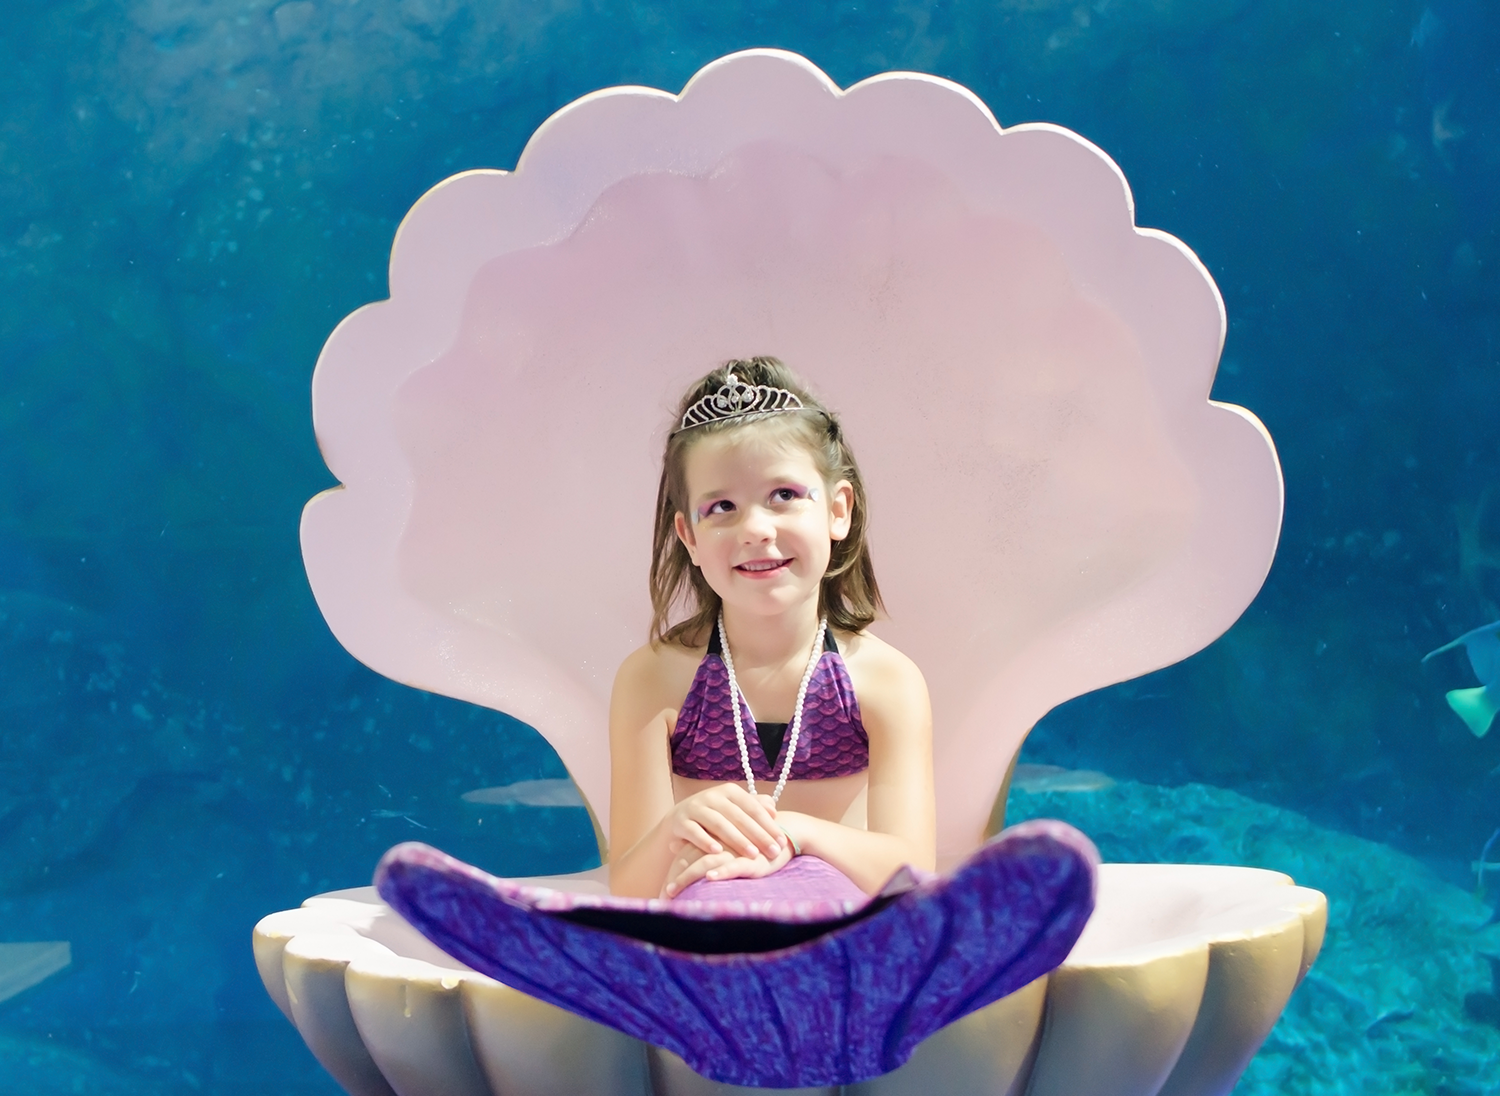
6) A Mermaid?♀️
You will need:
- A shiny long green skirt
- Matching shiny green leggings
- Extra shiny green material
- Some cotton stuffing
- A needle and thread
- A few pins
- A purple shirt
- A long wig
Instructions:
Step one – Dress your child in green leggings. After this, ask them to put the green skirt over the top of the leggings so that they double up.
Step two – Taking the extra piece of shiny green material, cut it into two equal pieces, which are both the shape of a fin. Carefully sew the edges of the two pieces of fabric together, leaving a slight gap. Your cotton stuffing should be fed into the part which hasn’t been sewn so that the tail becomes 3D. After you have finished filling the tail, you should then sew it up completely.
Step three – Gently gather up the back of the skirt. Then take your tail, and using the pins, fix it to the area of the skirt which you have slightly bunched together.
Step four – Get your little one to put on the purple shirt. Finish the look with the wig, for some ultimate beachy mermaid hair. For those who wish to channel ‘The Little Mermaid’ this Halloween, we’d recommend going with long red locks!
So there you have it, 6 different aquatic Halloween costume ideas for those who love to swim. If you’ll be using these projects as a great excuse to get crafty, please let us know! We’d love nothing more than being able to see your finished outfits.
Finally, for more information on our lessons or our ethos, visit swimmingnature.com.