LOG IN
 CONTACT US
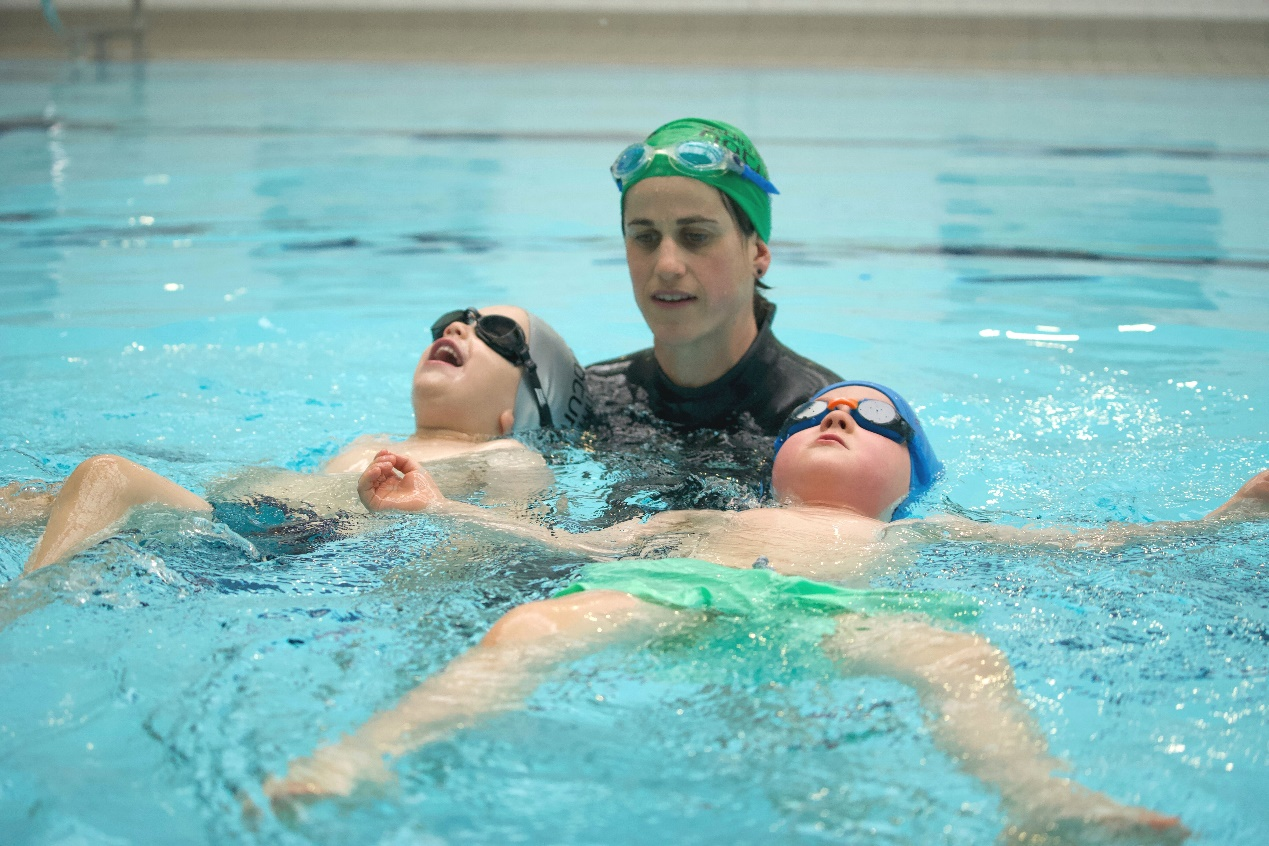
Knowing how to float can save your life, and it is one of the first steps to learning to swim. Floating is when you are lying on your front or back in the water and staying at the water’s surface. Floating helps the swimmer to conserve energy, which reduces the chances of drowning.
This is why at Swimming Nature, we never use any flotation devices during lessons or teach the doggy paddle. The doggy paddle causes one to use a lot of energy and this increases the chance of drowning significantly, which is why learning to float on the water is vitally important.
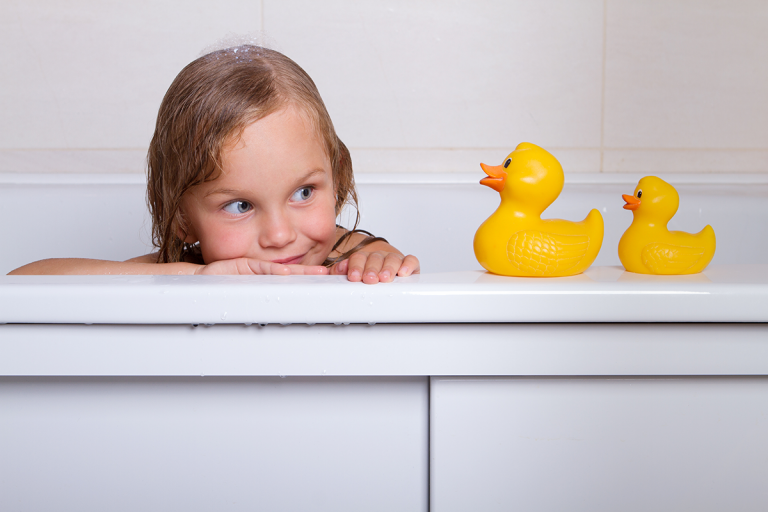
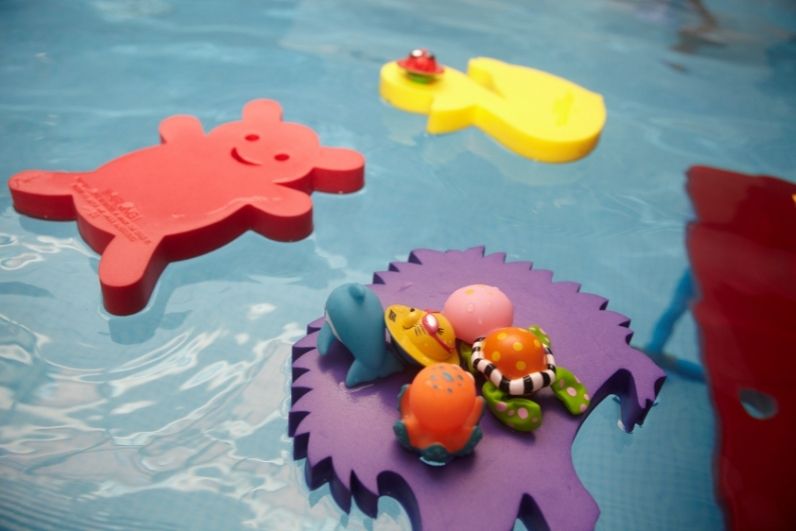
At Swimming Nature, we are all about boosting water confidence, that is why we never use any flotation devices in any of our lessons. Flotation devices tend to give us false confidence as we do not need to use any sort of technique whilst we are using them. We can just hold onto the flotation device and kick our legs. It gives us false confidence!
Learning without any flotation devices enables us to learn how to use our bodies to float on the water, as well as gain water confidence.
Ravi Saini
Many of us may have heard of a young boy named Ravi Saini. The young boy (aged 10 at the time), survived over an hour at sea using flotation advice he had remembered from a BBC Documentary.
Ravi thought he was moments away from death when a strong current swept him away from his family in South Bay, Scarborough.
Ravi’s dad Nathu Ram tried to help his son, but it was too late. His son had been swept out too deep for his father to do anything. His father could do nothing but watch and weep as his son was being swept away.
Ravi survived this terrible tragedy by using a technique that he had seen, which included: lying on his back, staying calm and spreading out like a Starfish.
Floating On Your Back
Step 1 – Leaning Backwards!
The first step to floating on your back is to keep your feet at the bottom of the pool and slowly start to lean backwards to the point where your ears are in the water.
Step 2 – Belly Button Towards the Sky!
Next, try driving your hips upwards, so your belly button is pointing at the sky. Make sure that you keep your eyes focused upward towards the sky! If you look at your toes whilst trying to float, then your hips will drop back down.
Step 3 – Lift Your Legs!
When you are ready, start to lift your legs; maintaining a good body position. If you are struggling with this then try lifting up one leg at a time.
Step 4 – Hands Above Your Head!
Once your legs are in position, try lifting your hands above your head, stretching out your arms. This will help to distribute your weight evenly in the water.
You Did it!
Well done! You should be floating! It will take a lot of practice, but once you get the hang of it, it becomes easier to do overtime.
To lift yourself out of the flotation position, look at your toes and secure your feet at the bottom of the pool.
Body flotation is one of the first things we teach at Swimming Nature. You can use our level checker if you want to see where your child is in accordance with our swimming levels. You can also get your child booked in for our swimming lessons by clicking here